
 |
| {It's pretty bad...} |
 |
| {Yay Power Tools!!!} |

Place the knobs where you want them in the finished product and trace around the base with chalk
It should end up looking like this:
 |
| {It's fine if they're messy like mine. They don't have to be perfect, you just need an outline.} |

Next, have someone help you hold the board and drill a hole in the center of the circles you just drew.
It should look like this:


Put the nuts onto the screws and tighten them using the wrench (not shown)
Then place the knobs on top and tighten using the wrench again (not shown)

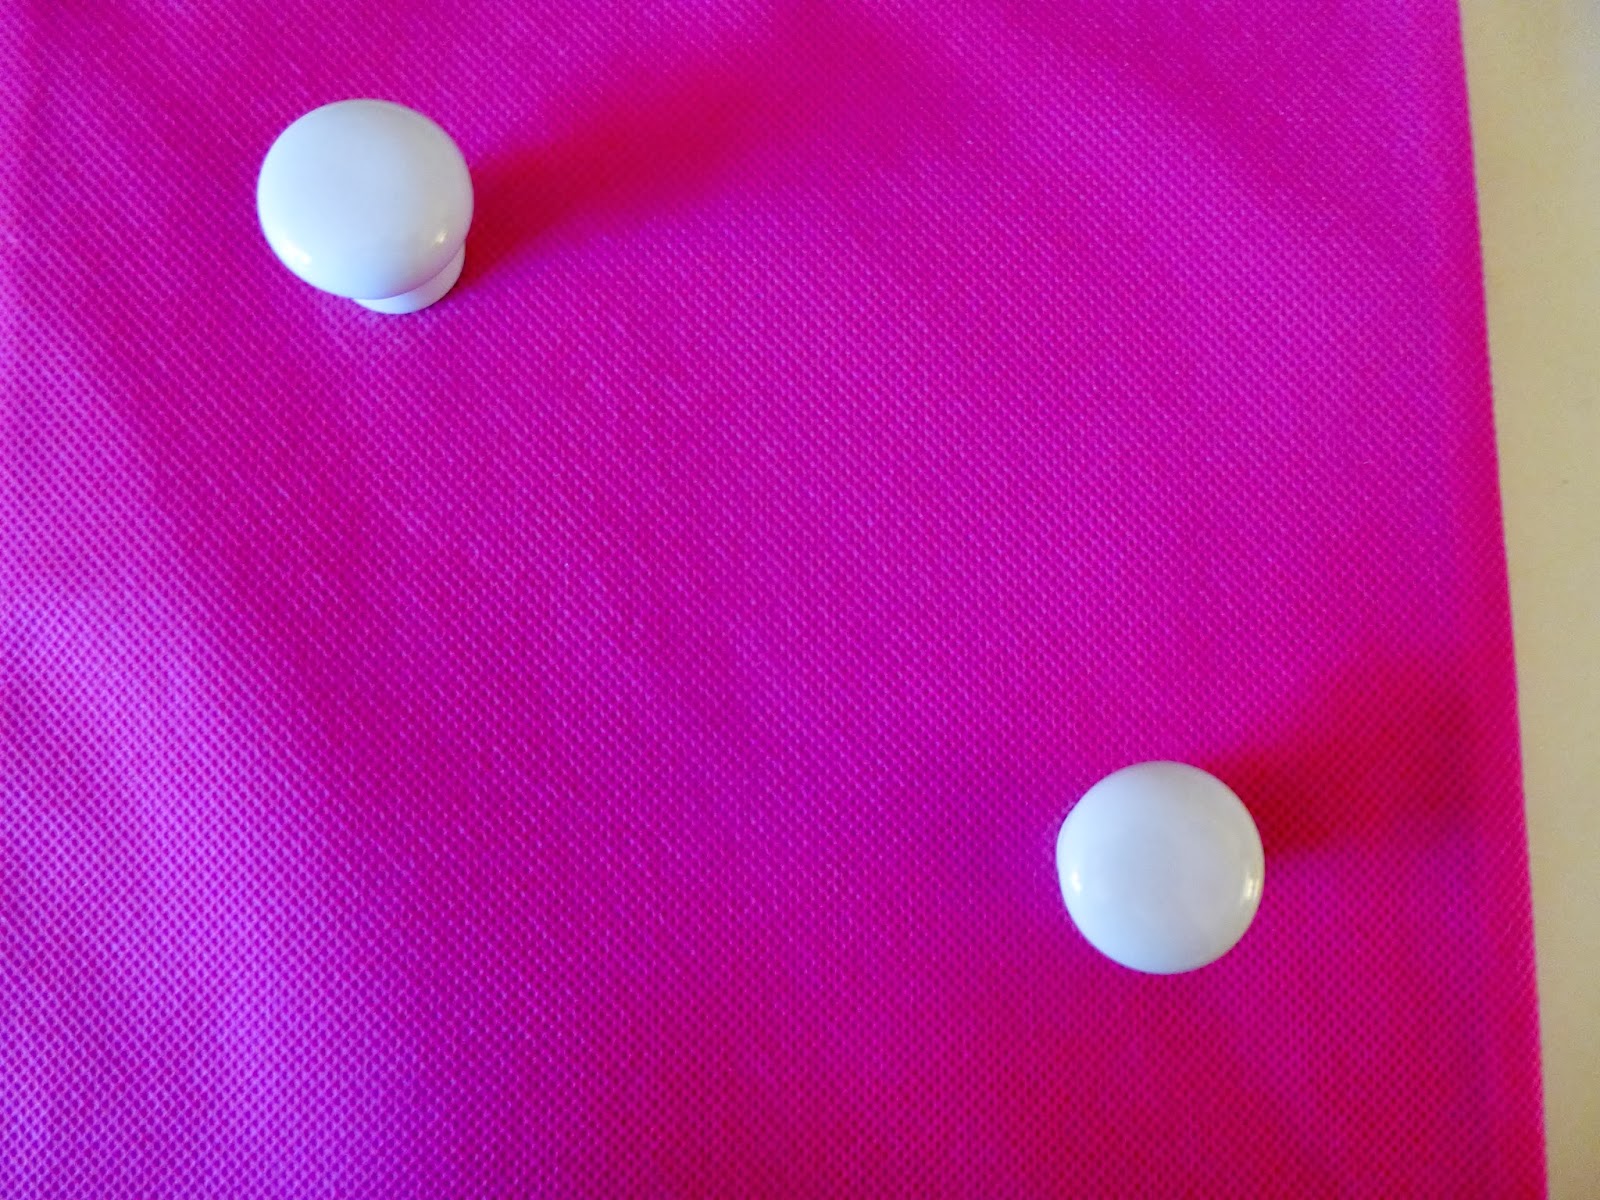
It should look something like this:
 |
| {Side view} |
 |
| {Top view} |

Warning: this method of hanging it on the wall is kind of ghetto, but it worked and is still hanging there as I type.
I stuck a thumbtack through the flap at the top and attached the whole thing to the wall


Hang up your necklaces and enjoy!


I'm really proud of myself for doing this without the help of my DIY expert parents (uh, hello? I used power tools on my own!) and it really turned out beautifully. I really like the way it looks and the way it works.
This project is only the beginning though! This storage idea has inspired me to make a bracelet holder and an earring organizer. Not to mention all of the other lovely crafts my DIY pinterest board holds. If any of you managed to read my ENTIRE 101 in 1001 list (I don't blame you if you didn't...), you'd know that I have plans to clean out the old toy room that is adjoining my bedroom and turn it into a craft room for my mom and I to work in. If that gets done before I go to college, it'll be a miracle, but it's progress nonetheless.
Keep an eye out for more how-to posts in the near future!
xoxo
Hannah
This is amazing! Super cute. Cute blog, also!
ReplyDeletewww.kierramakayla.blogspot.com
xoxo
Thanks so much!
Deletexoxo
Hannah
Such a cute DIY and seems really easy. Love how it came out.
ReplyDeletexo, Yi-chia
Always Maylee
Thanks! I'm really excited with the final product :)
Deletexoxo
Hannah