Showing posts with label DIY. Show all posts

Monday, June 15, 2015

Buttons, Pins, Whatever you wanna call 'em

I'm not really sure what spurred this, but I've developed a bit of a button addiction.
And as awesome as my dad's vintage band buttons are, I was inspired by someone at school to make some designs that were more my style. 
A few trips to Michael's later...


  • Wooden Disc ( mine are 1.5" in diameter)
  • Circular image (I'll show you how to acquire this)
  • Paint/Paintbrush
  • Pin Back
  • Hot Glue Gun
  • Mod Podge

STEP 1:
Hit up the interwebs for some sick pics that you could easily crop and make into circles. 
Here are a few of my faves: 12345678910

Step 2:
Crop the photo you want into a circle and resize it so that the length and width are both 1.5". I formatted on PowerPoint because I don't have Photoshop, but if you'd rather use Photoshop, go for it. After you're done formatting, print and cut it out.


STEP 3:
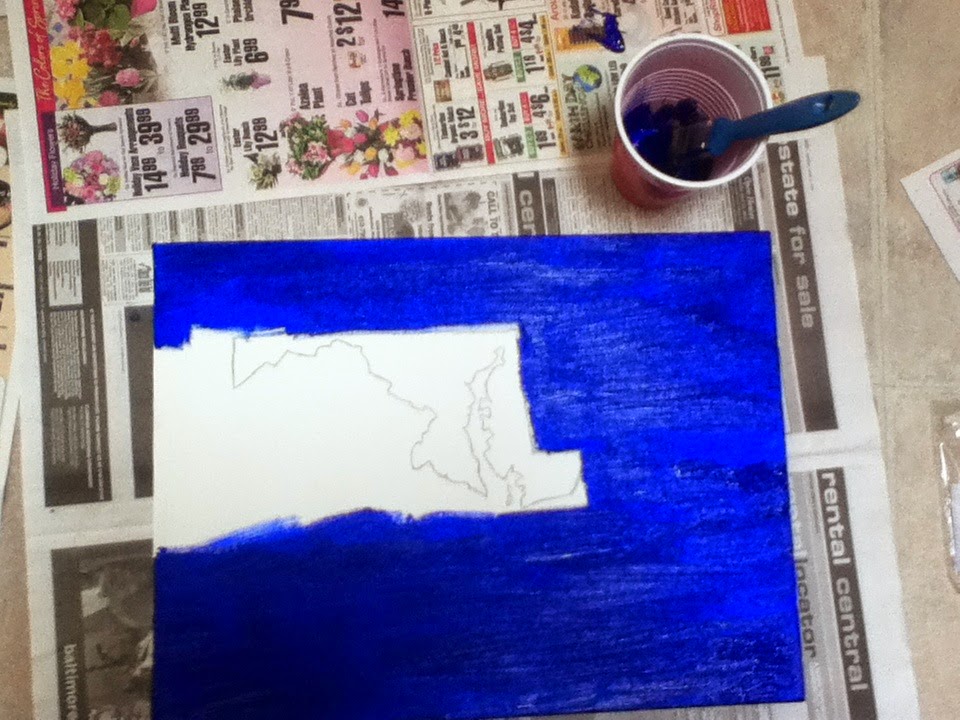
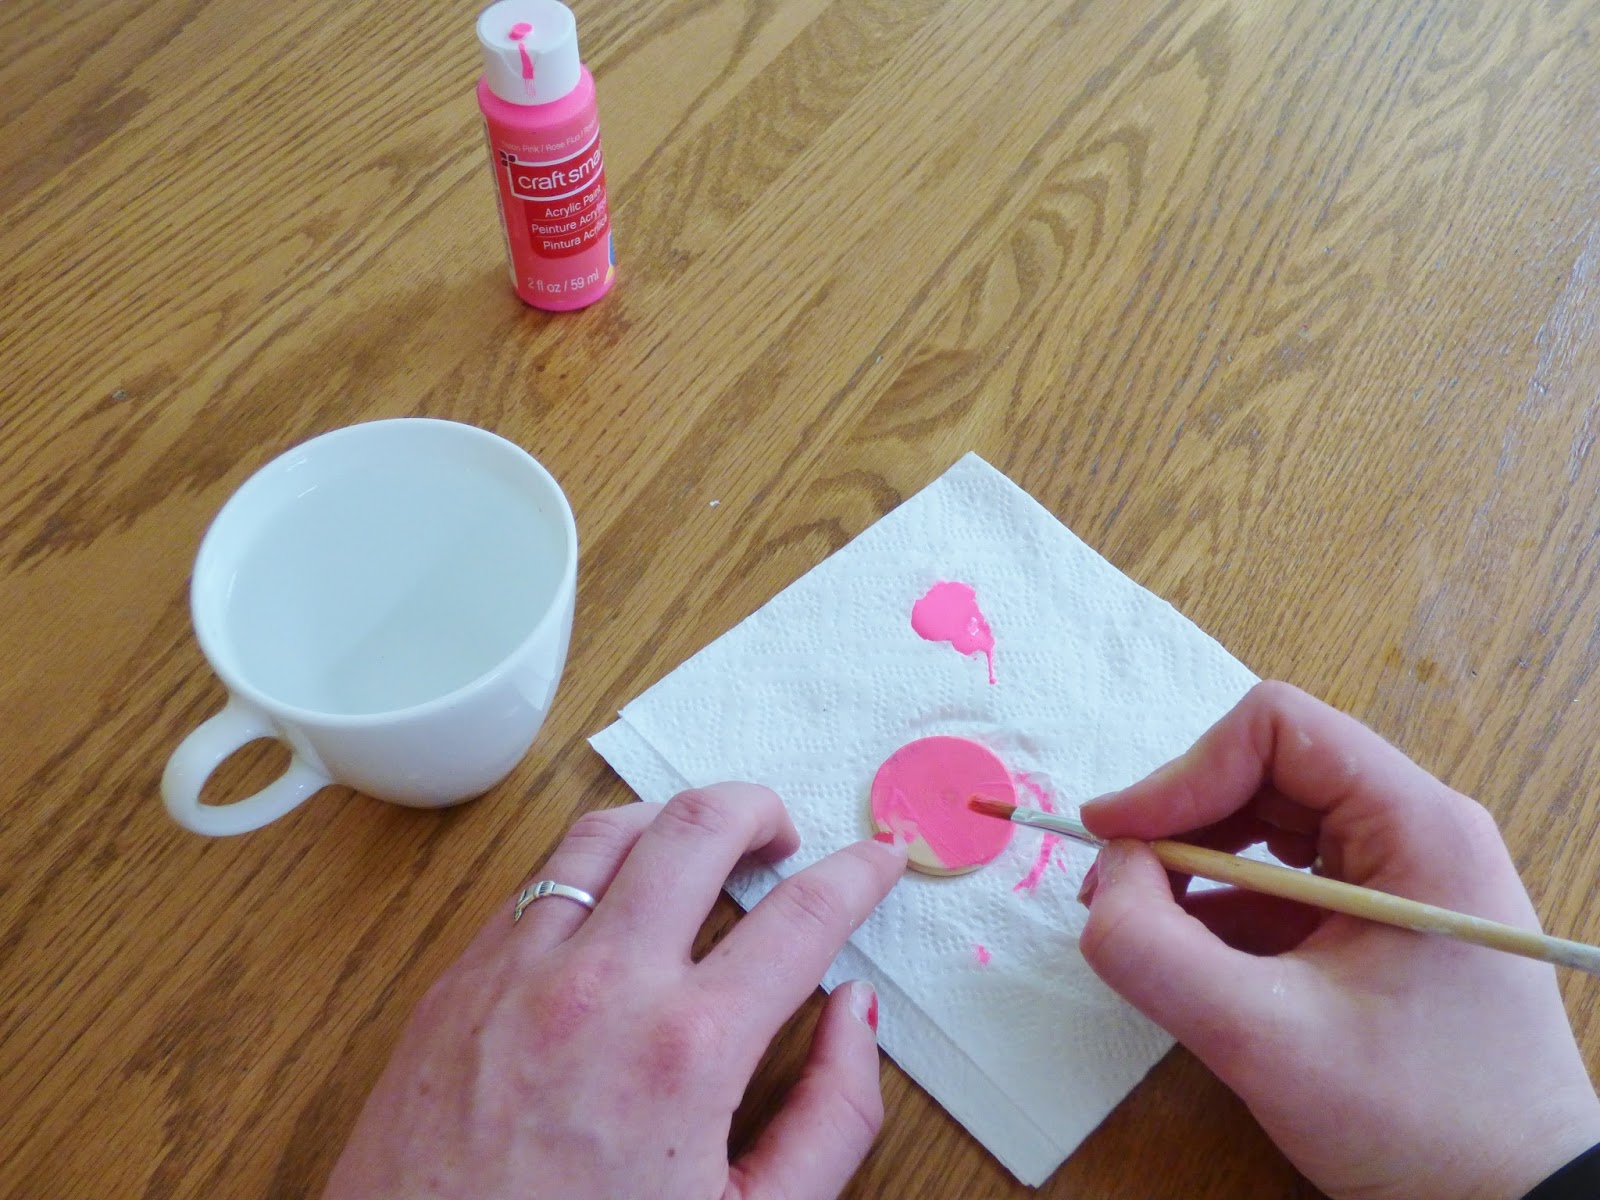
Paint the entire wooden circle. One side can be lightly painted or only painted around the edges as the picture will go on top. 


STEP 4:
Drop some Mod Podge onto the side where you plan to place the photo and spread it around (I used my finger, you could probably use a paintbrush or something). Place the picture on top.


STEP 5:
This is a weird one and I somehow neglected to photograph it, but you're going to put a drop of Mod Podge on top of the image and put a sort of coating. You only want about a drop so the image's ink doesn't start to blur. You'll also want to target the edges so they fold over the sides nicely if you made it a teensy bit big. Obviously, let it dry before proceeding.


STEP 6:
Hot glue the pointy part on and you're done!! Mix and match colors and even glue on letter beads to make a cool 3D word feature.


For those of you not so much into the crafty scene, here are some super adorable options that I'm dying to scoop up myself:
buttons
Pineapple / Ban.do Flair / Life Lessons / Custom Buttons (the big pile of them you see there) / The Smiths/ Cats / Eight Cat Badges / Cactus pin / Cubes / Banana / Fingers Crossed / Geometric Deer


Check out these awesome button shops: buried diamondsbutt 'n booty (lol it's not what it sounds like...), best player eversketch incasilda storeI like catsGeorgia Perry

Happy Crafting!
xoxo
Hananh

Thursday, July 10, 2014

DIY Scouting


          Lately, I've really gotten into doing hands-on crafting: taking old mugs and making them personalized gifts, using a map to make fabulous coasters, and transforming a cardboard box into a lovely book holder. Once I finish a project I am not only proud or my work, but I want more. I try to find crafts that I can really use or give to someone, and not just have it sitting around the house, collecting dust. Just browsing around the internet there are so many amazing and creative projects that I'm willing to work on. With more free time on my hands I'm ready to take a trip to the craft store and start working on these DIY projects. Wish me luck!


1. Lace diolie candle holder
(via)  


2. Painted Kitchen Towels (love the puns)
(via)

DIY Painted Kitchen Towels


3. Animal Boxes
(via)


4. A DIY Photo Clock
(via) although I would just use my own pictures, not ones from instagram


Instatime01

5. DIY Watercolor Mug
(via)


 Post image for DIY Watercolor Mug


xoxo,
ASD

Tuesday, May 27, 2014

DIY State Painting


           Hello everybody! I'm sorry it's been a while but high school is busy, stressful, and crazy! So much has happened in these past few weeks: I took my first AP exam (done AP World History YAY!), have been selected as flute/ clarinet section leader (Hannah is also trombone section leader and Marin is administration!! Yay marching band!), and elected corresponding secretary for my church's youth group. I'm really excited for next year because I'm involved in all the things I care about. But next year, there will be a lot of changes. The first being my brother going to college :( I'm oh so very proud of him and I hope he has a great time and learns a lot (same to you Mady!). Because he is going out of state, I wanted to give him something he could always look at and remember home, so why not an outline of good old Maryland itself? This personal and easy DIY makes a great gift because it's personal and functional as a little piece of art for any space, including those tiny dorm rooms.

DIY State Painting


{Le final product}


1. What you'll need:
-newspaper (If you're anything like me, you'll make a mess)
-a pencil (not pictured)
 -white and blue acrylic paint (you can choose any colors you desire)
- printout of an outline of Maryland (or any state you pick)
- large and small paint brushes (I have a larger one, medium, and a tiny one)
-a plain piece of paper (extra)
-  15 x 11 1/2 canvas (you can choose any size)


2. Taping
-grab some tape and place the state outline where you would like it in the picture
-if your outline is faint just go over it with some Sharpie then tape it to the back of the canvas


3. Tracing
-take your pencil and go in some sunlight (or a lightbox) and tracing over the state outline
-try and get all of the little indents of the land (of course Maryland is super complex in geography)


4. Painting the negative space
-take your main color and your big brush and paint a couple coats on, carefully around the state borders 
- I ended up mixing some of the blue with white so that I had various shades of blue. I was inspired by the ocean for this:) But I left the borders dark to emphasize the white Maryland (you'll see the paint lighten by the final product) 
- you may want to us the tiny brush for the borders if you aren't a very skilled painter, like me


5. Painting Maryland 
-this was clearly the hardest part. keep a steady hand and get the borders first 
- all of the the little nooks and crannies of Maryland kind of blended together but it still looks like Maryland
- add a few coats if needed
-have clear- cut looking borders so the state looks crisp

*the blue paint hadn't full dried so that's why it looks all blotchy


6. Adding the heart
-I suggest outlining a little heart from where you are from (if it's for yourself) or where the other person is from, in pencil  
- if you are a skilled painter, unlike myself, use red acrylic paint to color in a vivid heart, or if you're like me, just improvise and use a red Sharpie 
-now look at the heart and state; admire your handy work and it's cuteness 


{Baltimore, Maryland}


                 This project was better than just buying another little gadget for a graduation present and a lot more personal. I have a little message written on the back for him with few word of encouragement as well.
I hope you guys try this project just for fun or as a gift for someone you care about :) Good luck to Mady and all (if any) the seniors who will be going to college!!!!!

xoxo,
ASD